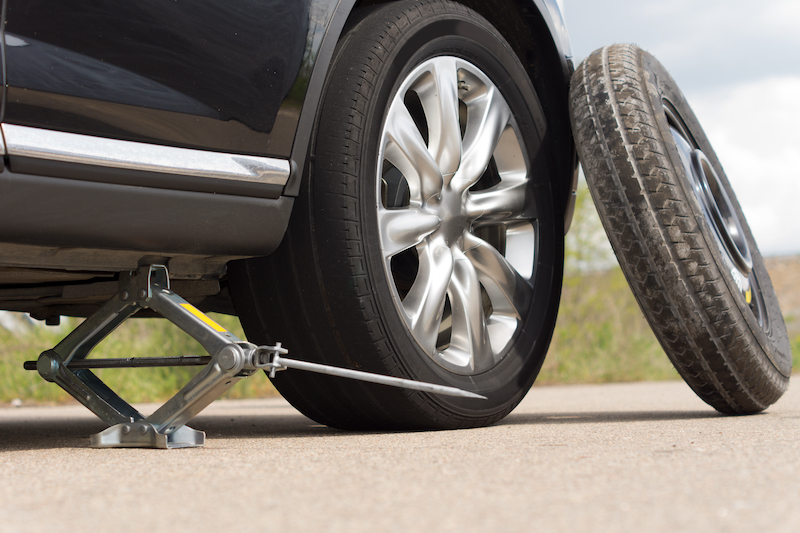
How To Change a Flat Tire

There is nothing worse than being stranded on the side of the road with a flat tire. While you might prefer to leave changing your flat to a professional, there may be a time you will have to do it yourself. That’s why it’s important to be prepared with the right products and knowledge in the event that help is unavailable. Here are few things to keep in your car to make changing a flat tire a little easier.
What You’ll Need:
– Emergency Warning Devices
– Car Manual
– Car Jack
– Lugwrench
– Spare Tire
– Tire Tools
– Flashlight
– Wheel Chocks
1. Find A Safe Place to Park
Do not park on dirt or grass if possible – your jack may sink into the dirt and become unstable. Trying to avoid hills to prevent your car from rolling.
2. Secure Your Vehicle
Turn off your engine and engage the emergency or parking brake before you change a flat. Wheel chocks or a heavy rock can be placed behind the opposite side of the side that’s being raised to keep your car from rolling.
3. Grab Your Jack, Spare Tire, and Tools
Consult your owner’s manual to check the location of your jack, spare tire, or tire tools if you’ve never previously used them. After you’ve found these essentials, we recommend you try them out and get familiar with how to use them, so you’re comfortable performing the next few steps in a crunch. Waiting to learn how to use your tools on a dark, rainy night can be frustrating and even dangerous. We recommend doing a practice run when your tire is not flat so you can get a feel for how to perform the task.
4. Loosen the Lug Nuts Slightly Before You Jack Up Your Car
If your car has a wheel cover (hubcap), remove it first by using a screwdriver or the flat end of the jack handle or lug wrench.
5. Lift Up Your Car
Consult with your owner’s manual for the best place to secure you jack, and follow these directions carefully! Crank your car up to at least 6 inches, or however much is needed to remove the flat tire. Lower your car to reposition the jack if you notice an instability. Caution: Never place a jack under the axle or suspension member.
6. Remove the Lug Nuts and Wheel
Use the lug wrench to remove the nuts. Place the lug nuts where you won’t lose them, such as on the inside of your car door. Pull the wheel off and set it aside.
7. Remove the Flat Tire
Remove the flat tire with both hands. Pull the tire towards you and place it under the car, just in case your jack is unstable and drops your car. Hit the rubber with a hammer or use a liquid penetrate to loosen the joints if you have difficulty removing the tire due to rust.
8. Put on Your Spare
Place your spare tire in front of the wheel well, align it with the wheel bolts, and then add your lug nuts. Turn the lug nuts clockwise by hand as tightly as possible. Then take your wrench and turn the bolt tight enough to secure the tire before lowering it to the ground. Do not completely tighten.
Note: There are different tightening sequences for 4- and 5 -lug wheels. Tightening the nuts in the proper sequence ensures that the wheel mounts properly and that the stress is evenly distributed over the wheel.
9. Lower Your Car
Slowly lower your vehicle to the ground. Remove the jack and block. Tighten the lug nuts as much as possible, in proper sequence. Caution: Many spare tires are not full-size, normal tires. These smaller spares can’t be driven at normal speeds and should only be driven for short distances. Consult your owner’s manual for instructions and warnings for driving with a compact spare.
